
How to start a Shopify store when you have no knowledge, expert, or even a product to sell? It’s just not doable! Or is it? As a matter of fact, it’s so easy to learn how to start a Shopify store to the point that you might start wondering: “Is Shopify A Scam?” It isn’t. It’s just a beginner-friendly e-commerce platform designed for both the e-commerce-starters and the experts to trade goods digitally.
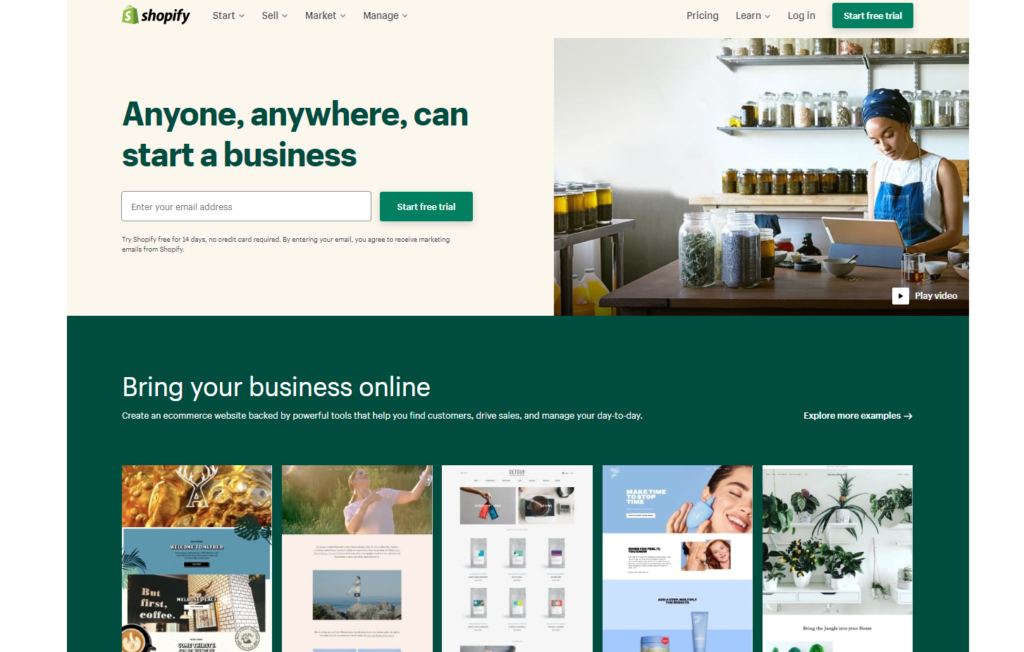
Table of Contents
How To Start A Shopify Store: A Step-By-Step Tutorial
1- Signing Up
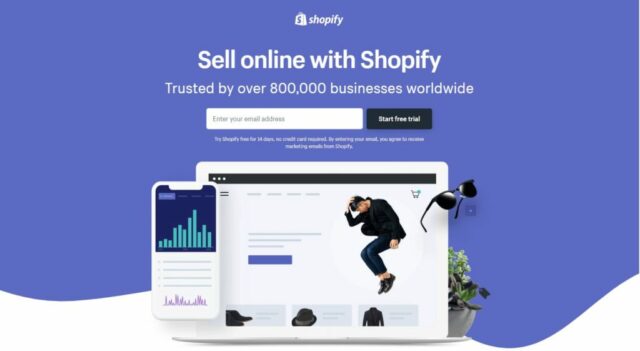
- The first thing you need to do is to head over to shopify.com.
- Next, click on the “Start Free Trial “blue button on the upper right corner of your screen.
- After that, you will be forwarded to a pop-up page where you will be asked to:
1. Enter the email address with which you want to associate your Shopify store.
2. Choose a new appropriate password for your Shopify store.
3. Select a memory-friendly, easy to stand among the crowd name for your Shopify store.
- After filling in all the info, click “Create Your Store.”
- Afterward, you will be directed to a new page which you will be asked to:
1. Fill in your first name and last name.
2. Confirm your password.
Once doing so, click “Create Account.”
- Shopify will direct you to a new page where you will be asked a few questions to help to verify your account like:
1. “Are you already selling?”
2. “What is your current revenue?”
3. “Which Industry You Will Be Operating In?”
- Once answering all these questions, Shopify will direct you to a new page in which you will need to enter your address info like:
1. House Number.
2. Postal Code.
3. Country.
Next, click on “Enter My Store.”
2- Let’s Dig Deep Into Your Shopify Account Main Page
You will see a five-minute-long “Getting Started” tutorial on the top of the page that will take you through the basics of Shopify. It’s a pretty good meal to digest if you wanted to know how to start a Shopify store from its creators.
Bellow it; there is a space for you to add your products. Shopify allows you to add both physical and digital products (you will know more about that at the core of how to start a Shopify store tutorial).
Under that, there is a tap for you to can set up your local delivery. All about the delivery will be discussed in sections 10 and 11 of how to start a Shopify store.
On the upper side of Shopify’s main page, there is a search bar that you can use to access Shopify’s huge library to find help in a specific matter or to educate yourself about the site better.
On the upper right corner of your Shopify’s page, you can notice your account’s logo (since you are just starting, it will be the logo of the email you used to register with Shopify back on step one). By clicking on it, a side-window will scroll down. From there, you can:
- Manage your account.
- Visit the Shopify help center.
- See the community forum.
On the left side of your Shopify page, you can see your
- Orders.
- Products.
- Customers.
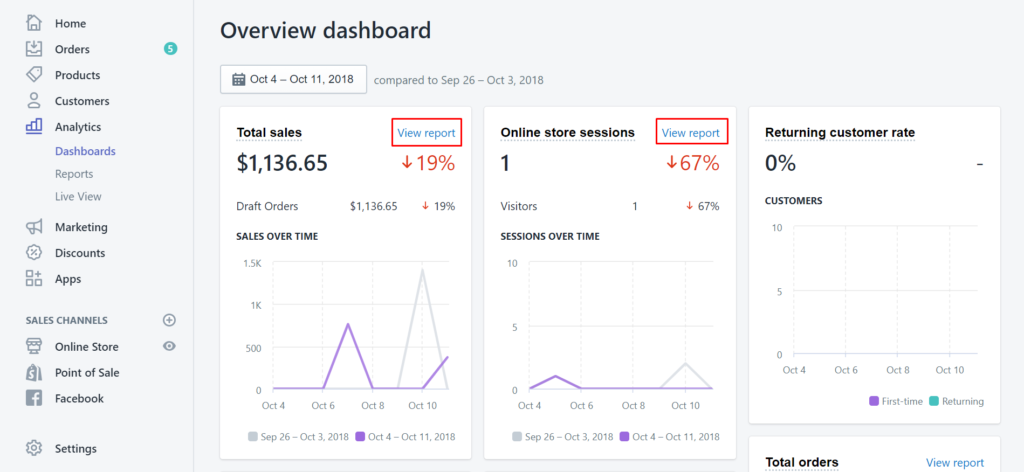
- Analytics about your Shopify store.
3- Getting A Theme For Your Newly-Born Shopify Store
If you want to know how to start a Shopify store that leads to traffic and drives sales, the first thing you would want to do is to get an outfit for your newly-born store. Luckily, Shopify does offer a lot of top-quality themes for free or attached with a price tag.
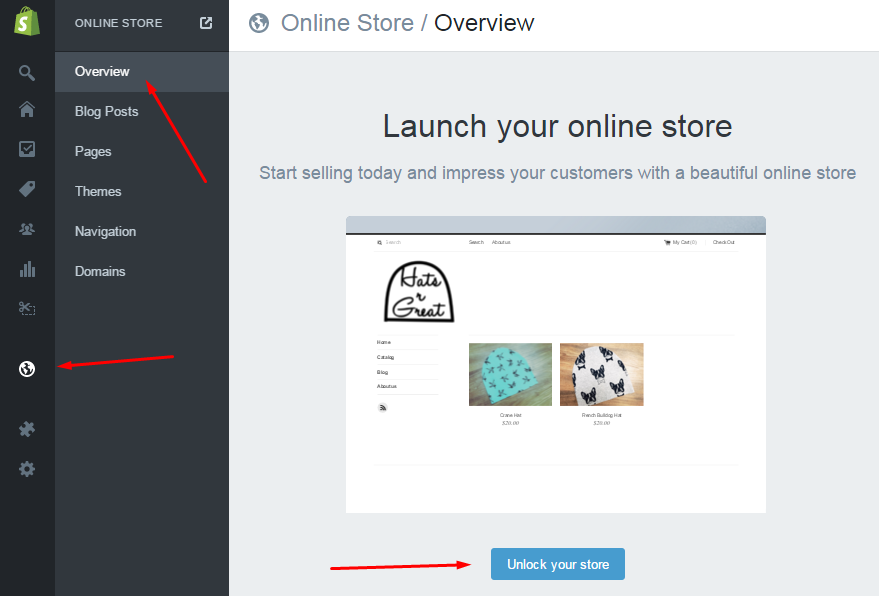
On the left corner of your Shopify page, hover down to the choice “Online Store.” By clicking on it, a side menu will scroll down; from it, choose “Themes.”
The moment you’ve had registered with Shopify, Shopify has already given you a free theme to dress your store with.
If the offering wasn’t your cup of cake, you didn’t think it was usable, or you just one of those who take their time when deciding appealing-related matters, scroll down where you can find a theme-rich page that has both free and paid themes.
There are many free themes to choose from if you were just starting and didn’t want to waste money on aesthetics before making sure your store is money-welcoming.
Shopify will give you quick yet comprehensive information about each theme to help you during your decision-making process (which can be quite time-consuming since there are a lot of well-looking outfits on Shopify).
Shopify will also tell you how your theme will look on multiple platforms (for example, how will it look on mobile devices VS how will appear to customers sitting on their desktops).
Any Shopify theme has two or more variants to choose from. Once settling with a digital-dress for your store, you can level up the game and customize the theme you have chosen if you didn’t trust that Shopify shares the same knowledge you do about what can grab your customers eyeballs.
You can start customizing your Shopify theme by selecting an image – a background image – and dragging it to your Shopify store.
You can choose an image from your studio or by heading to Google.com, where you can find plenty of options to choose from. Make sure not to choose something you don’t have the permission to use.
A quick hint: Google does have a “tools” section that you can find while browsing images. By pressing on it, you can find an option labeled “free to use.” Any photo there is Shopify-acceptable.
After choosing an appropriate image, drop it into your Shopify theme editing page and see how things fit in. Shopify gives you full freedom to edit the image you want as you wish. You can:
- Add or remove texts from your image.
- Adjust the bright settings.
- Play with size.
And many more.
You can add as many images as you want. You can also adjust the timing between each slide’s appearance and the next.
One way to use texts for your business is by displaying discounts and offers on the top of your image. You are also free to add links if you want.
There are little mobile and desktop clickable-icons on the top of your theme. By clicking on them, you can switch-previews to check if your theme looks perfect on both platforms.
4- Defining Visual Identity For Your Store
Your logo is your brand’s visual identity. It what hooks the eyeball and gives credibility to your store. So, it makes sense to choose it wisely.
By going to the header section, there is an option for you to place your business’ logo from your studio.
Suppose you were just starting and didn’t have the time to make a suitable logo for your business, no worries! There are plenty of ways to outsource logo designing to experts all over the world.
Fiverr is a marketplace that was founded in 2010. Today, the platform has over 830,000 sellers and process transactions worth $50 million monthly in about 20 different categories.
You can find expert designers capable of making a solid eye-friendly logo for your Shopify store. Prices on Fiverr differ according to quality. You can find options ranging from $10 up to $400 for a logo.
Upwork is an American marketplace that was founded in the year 2015. Talents in Upwork are famously known for being experts in their fields. So, it’s not hard to find professional work there if you were ready to pay heavily. Top-rated Upwork logo designers charge from $30 per hour up to $130 per hour.
Unlike the two previous choices, the Freelancer platform allows you to set up the budget that suits you and post the order – with detailed discerptions – for Freelancers to place their bids on it.
5- Add Your product
On Shopify, You are free to add both physical and digital products. If you are already running a business outside Shopify, you can just add the product you are already selling to your digital store on Shopify.
If you are new to doing business, no worries!
You can add plenty of products from home and sell on Shopify; if you want to keep it simple, you can start selling t-shirts from your design.
Without having a top-quality product you can show to start a Shopify store, it’s hard to expect much success. Below, you will find how to start a Shopify store and upload your first product in 10 easy-to-follow steps.
- Enter your Product’s name (make it distinguishing and easy to memorize).
- Enter a quick discerption about your product (keep it easy for the eye to follow as well as informing).
- Add photos or videos about your product. Upload the best photos you have. And for the videos, make them explanatory enough so your customer won’t need to go somewhere else to find out about your product.
- Choose a price for your product (you might want to conduct quick market research before pricing your product/service).
- Select the number of available units of the product you are selling. This option is only for physical products; for instance, if you are selling t-shirts on Shopify, you might want to specify how many units are there so your customers can know when to purchase.
- If your product is a physical item, make sure the “This Product Is For Shipping” button is ticked since you don’t want to miss out on Shopify great Shipping plans (more on that when the “how to start a Shopify store” tutorial moves to talk about shipping).
- Select the area/region where the product is coming from.
- Choose the variants you want to sell your product in (for example, if your product was a t-shirt, you could sell light-colored ones and dark-colored ones, or you can put two different – yet linkable – designs into your Shopify store).
- Add tags. Tags are like SEO keywords. They are the words that your customers will search for to find your product. Choose them wisely after conducting thorough keyword-hunting research.
- Click Save. You will see a “Congratulations!” page that informs you that your product is done and ready. From there, you can add other products or go to your main page to customize your Shopify store.
In case you wanted to add more than just one product, there is an option to have collections of multiple products together on your Shopify store.
- One last thing to mention is that you might want to add an alt-text (alternative text) to your product’s image to make it rank on Google Images. You will probably need to do keyword research before doing this step.
6- Customizing Your Shopify Store
You don’t need to have a big opening show to start a Shopify store; you can get going by adding a few other images about your product along with some texts for further discerption of the nature of your product.
Here are a few things you can add to customize your Shopify store:
- Newsletter
A newsletter is a way for you to inform your customers about your product or service and the future updates it will receive. You tell your Shopify visitors to fill in their email IDs. You start building an email list that would hopefully lead to sales.
For many reasons, your newsletter can drive your customers to stay and return, you can get sponsorships and many benefits that can increase your sales.
- Map
This is where you display your store’s location and opening and closing timing info. It adds an authenticity factor to your store and gives it more credibility.
- Testimonials
Customers want to hear from other people before blindly-diving into an unknown purchasing process. By arming your business with testimonials, you will give it the credibility and the word-of-mouth it needs to sell big.
- Video
Since 46% of customers see a how-to video about the product or service before making a purchase decision, make sure that your Shopify store isn’t video-free, instead build a solid how-to video that will explain to your customers all that they need to know regarding your product.
- Slideshow
Why one image when you can add as many as you want. Arm your product with solid images and make it look perfect and shiny-new. This will create a suitable mind-show to start a Shopify store with confidence, knowing where your customers’ eyeballs will be fixed.
- “Shop Now” Button
This button is essential to ease the buying process for your customers. Make sure each product you add on Shopify has a “Shop Now” button so you can encourage your store visitors to buy products instantly with no annoying go-here, visit-that kind of instructions.
7- Preferences
You can find the “Preferences” tab on the button of the left side menu of your main Shopify page. From there, you can double-check the quality of your keywords and check how SEO-ready is your Shopify Store. For instance, you can implement Google Analytics to your Shopify store to see your keyword’s rank.
8- Add Functionality To Your Shopify Store
From the left side window, choose “Apps.” You will see many of the recommended Shopify apps (i.e., extensions) that can run your business more properly.
Each app does have its specific function/role in adding to your Shopify store. To add an app to your Shopify store, click “Add App” and enter your Shopify store’s URL (Shopify will automatically give you a free domain name that looks something like yourusername.myshopify.com. I know, not quite professional!
If you wanted a more professional business-ready domain name for your store, you can head over to GoDaddy and purchase a domain for about $2.99 a month.
It’s silly how to start a Shopify store that’s fully-functioning can be that easy when you implement such Apps to your store.
Most Recommended Shopify Apps To Use:
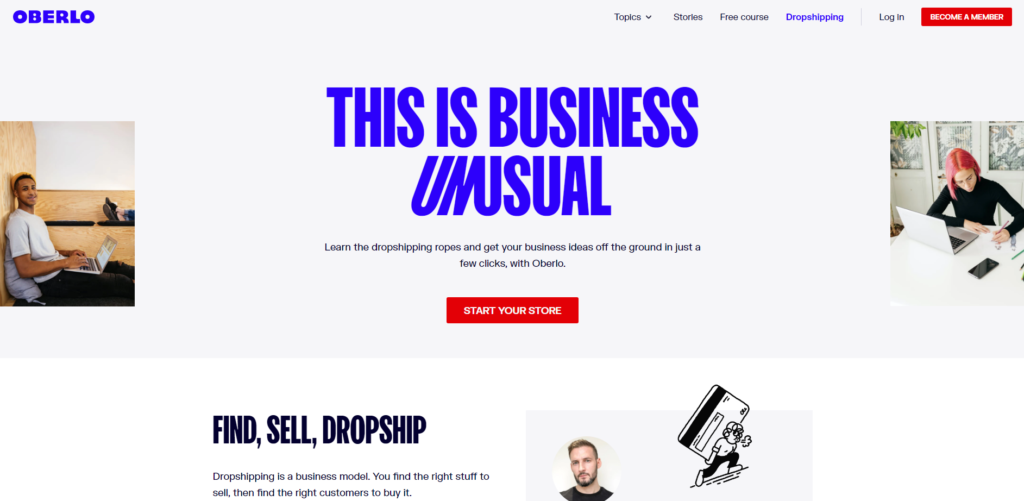
You don’t have your own business and couldn’t find any idea for a home-made product to sell on Shopify? No problem! With Oberlo, you can find products to sell on your Shopify store easily.
You don’t need to bother with finding products or ideas, and you don’t even need to worry about manually-adding the product details to your Shopify store.
Oberlo has plenty of templates of products ready for use. You can search for one product that you think your offline or outside-Shopify audience might like and implement it in your Shopify store. You won’t be charged until you make a sale. Sounds like a great plan for me!
Oberlo does have a free plan. But, if you want to grab the full benefits of this Shopify extension, you will need to subscribe to their premium plan for $29.90 monthly.

You can’t expect profits without being SEO-right. That’s a fact! Paying attention to your product tags and image’s alt-text might do you some good. Yet, it’s not the best action to do if you want your store to be SEO-backed to the level that will allow it to have a decent amount of traffic.
Plug-In SEO is available for free. Yet, there is a $20 per month plan to subscribe to if you want to get this tool’s full benefits.
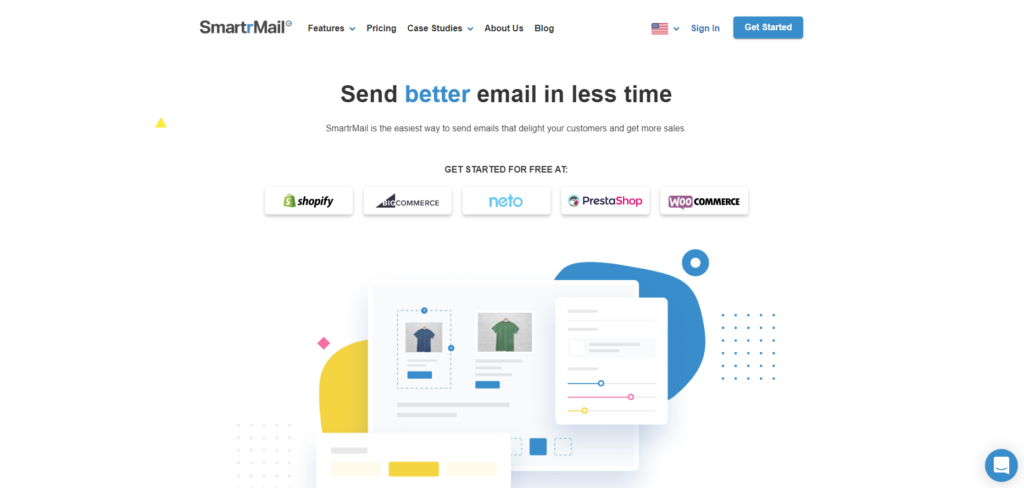
SmartrMail is here to help you with email marketing. Due to the many benefits it provides to your Shopify store; email marketing can be one of the best marketing methods to spread-the-word for your Shopify products.
SmartrMail automatically implements your product details to your email messages and make you build a solid marketable email message. SmartrMail is for $29 a month, and it does offer a flexible 15 days trial period.
These are just a few examples of Shopify’s tools. There are plenty of tools out there to arm your newly-opened Shopify store. Some are free, some might be within your budget range, and some might be costly. You don’t need to have an app-show to start a Shopify store; you can get things done with only those two or three tools you think they can bring value to your Shopify store at this stage.
9- Payment Gateway – Choose A Payment Provider
The payment provider is the option you ask people to pay you with. Since PayPal is the most popular payment method worldwide, you must add it to your Shopify store.
Another popular payment provider (especially if you were in the US) is Stripe. The way Stripe work is by accepting credit card payments from people and directing it to Shopify. From there, you can withdraw the money from your personal or business bank account.
10- Checkouts
Checkouts are how your customers will see your Shopify store with. You can access checkouts from your Shopify settings. You can have people to create accounts on your website. You can also have customers checkout using their phone or email.
11- Shipping
Also, from the Settings tab, you can select which countries you are willing to ship your product (your physical product) to and select the fees that you will charge from your customer for shipping. You can also manage local delivery options and sample sizes as well from the same window.
12- Locations
This is where you add your warehouse location if you do not want to go with drop shopping anymore. Every 30 days, Shopify will charge you for the storage space you used to store your products. The longer your products stayed on the shelf, the more payments will add up.
13- Discounts
From the left side of the Shopify main page, you can access the discounts menu. You need to offer discounts for your business if you wanted it to grow and become customer-friendly.
Shopify allows you to generate a discount code which you can send to:
- Everyone.
- A specific group of customers.
- Specific customer.
The types of discount offerings your business can provide on Shopify are 4:
- Percentage.
- Fixed amount.
- Free shipping.
- Buy X get Y.
You can also set an activation date and an end date for your discount offer if you like to.
It Is Easy To Learn How To Start A Shopify Store, But Remember That Social Media Marketing Is The Key!
Compared to key competitors like Volusion, it’s pretty easy to learn how to start a Shopify store for the newbie. This reading meal is like your roadshow to start a Shopify store with zero knowledge, zero experience, and even no products! Yet, as easy as it sounds, the real hard thing is when it comes to gaining loyal customers.
Your few days-old Shopify store wouldn’t do you any good but a sale or two if luck was on your side. You might need to put in some effort, time, and money before expecting any long-term on Shopify.