
Why are you interested in learning how to use ClickFunnels? Is it because you aren’t JavaScript-fluent to build your funnel/landing page? Is it because your previous funnel page builder software failed to give the results it promised to deliver?
Or, maybe you want to learn how to use ClickFunnels because of the millions of dollars your friend told you that he/she won using ClickFunnels?
This writing piece will take you through a step-by-step journey to unlock the key to ClickFunnels’ secrets and become a pro, so your business/product can make the maximum benefit from the software.
Table of Contents
What Is ClickFunnels?
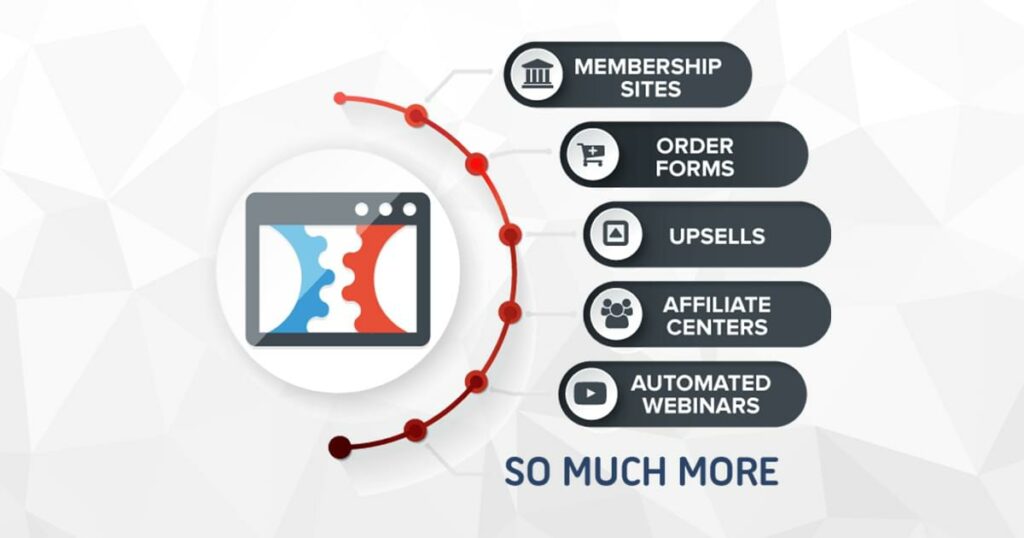
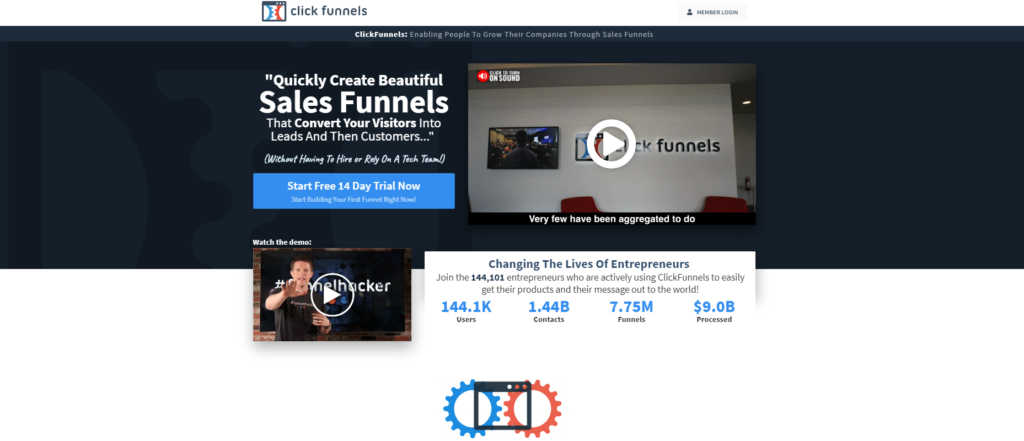
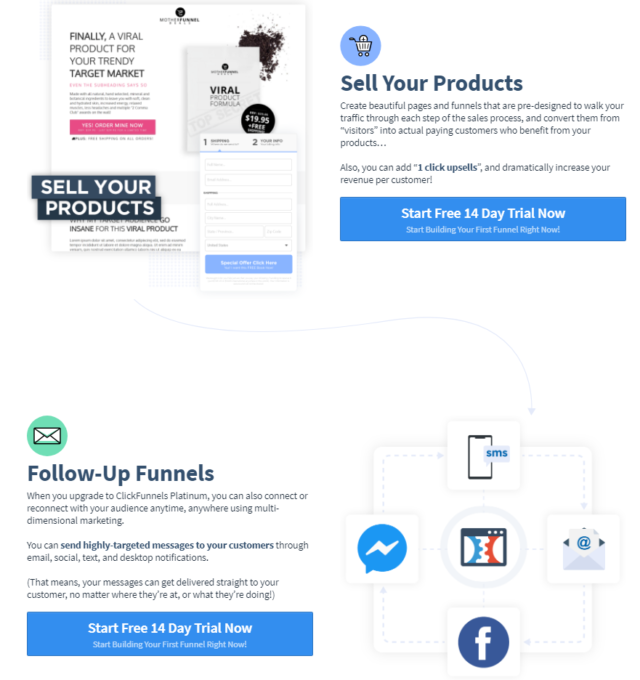
ClickFunnels is an all-in-one funnel/landing page builder that is built to help internet entrepreneurs and marketers establish a solid, visitor-friendly front page for their business that can hook the eye and increase sales.
ClickFunnels was founded in the year 2014 by Russell Brunson, and only six years later, the small startup has turned into one of the biggest funnel page builders worldwide!
ClickFunnels Isn’t For Anyone!
Before learning how to use ClickFunnels, you might want to check if it suits you or not in the first place. If you rely on good-old traditional (physical) marketing to spread the word about your product/service, then there is no way that ClickFunnels can help you with it.
Also, without having clear verification from the marketplace that shows your idea is indeed something price-worthy, ClickFunnels won’t be able to pull the rabbit from the hat.
In a nutshell, ClickFunnels builds an attractive front-page for your business and allows you to share it with marketing services you use; apart from that, nix!
The Good And The Bad About ClickFunnels
Advantages Of Using ClickFunnels
- “How to Use ClickFunnels” Video Tutorials Offer Great Help.
- Easy to Use.
- Split Testing Designs Are Just Great.
- Easy to Integrate With 3rd parties for Marketing Purposes.
- Plenty of Information On Facebook Groups.
- It has a Great CRM (Customer Reaction Management) Tool.
- Support is So Great to the Point That You Might Receive Personalized Help When Not Being Able to Fix Things Solo.
Disadvantages Of Using ClickFunnels
- Some Templates Have a Scam-Like Look!
- There’s No Email Blast Functionality On ClickFunnels.
Why ClickFunnels For Affiliate Marketing?
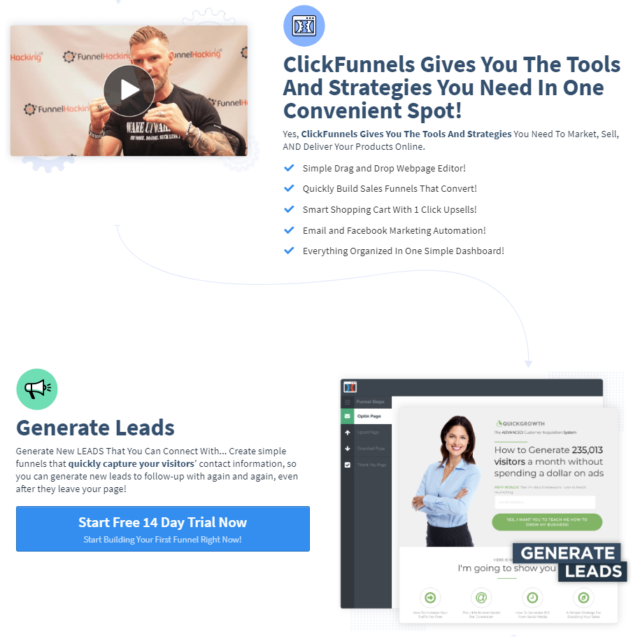
- Can Pump-Up Your Conversion Rate.
- Can Allow You to Have a Standby List of Your To-Become Customers.
- Passivity in Income isn’t Something You Want to Evade.
- ClickFunnels has Sticky-Cookies that Allow You to Gain the Maximum Value of Your Commission Regardless of the Date.
- Affiliate Bootcamp Can be a Great Teacher for the Newbie Affiliate Marketer.
- Aside from Your 40% Commission, You Will Receive 5% Commission from Each One that Joins CF Via Your Friend’s Link.
How To Use ClickFunnels To Build Your First Sales Funnel
If you don’t already have a ClickFunnels account, head to clickfunnels.com and choose a plan that suits you. Their starter plan costs $97 a month. They also have a platinum plan for about $297 a month, giving you more flexibility and freedom in using the software. Nevertheless, it isn’t required if we were an early-stage startup owner looking for a basic funnel page for your product or service.
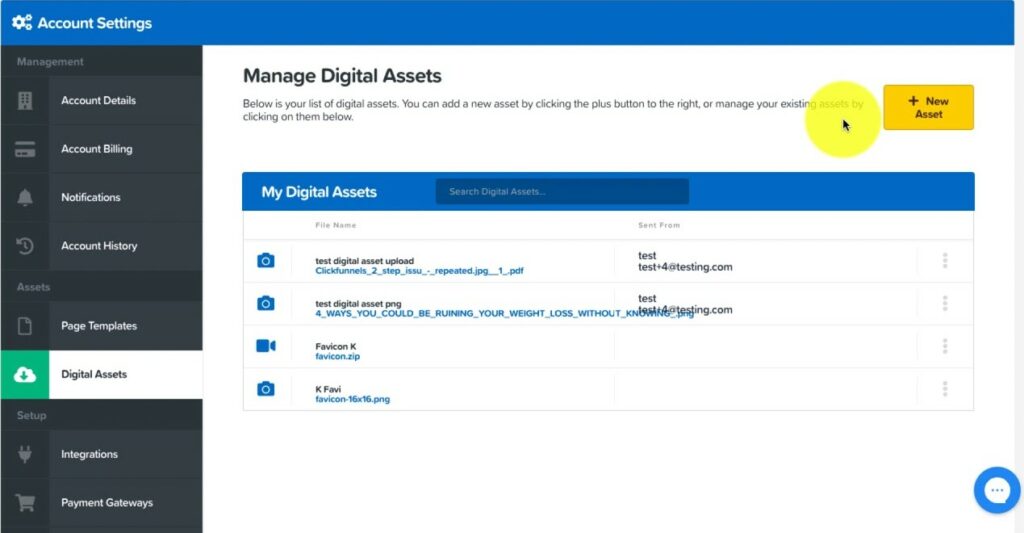
On ClickFunnels Main Page
Press on the yellow “add new” button on the screen’s upper right corner to add a new ClickFunnels page. Once doing so, a window will pop up with two different options:
- Cookbook Builder Process
- Classic Funnel Builder Process
The Classic Funnel Builder option is for those who want to build an utterly new funnel page from scratch (i.e., without ClickFunnels’ help).
To learn how to use ClickFunnels’ Classic Funnel Builder, you will need:
- An expert backend developer to build the logic of your page.
- A front-end developer with exceptional skills in CSS, HTML, and JavaScript.
- A designer to qualify your funnel page appealing.
This option isn’t recommended unless:
- You have a sufficient cash flow to pay for the front-end developers, backend developers, and web designers.
- You don’t like any of ClickFunnels templates.
- You want something unique for your business.
Using Cookbook Funnel Builder
The first thing you need to do is to click on “Start Cookbook.” You will be directed to a new page in which you will find several templates like:
- Daily Deal Funnel.
- Summit Funnel.
- Hero Funnel.
- Webinar Funnel.
- Invisible Funnel.
And many other eye-friendly templates.
Click on the template you see fit your business needs or your product nature.
On The Funnel Page Of Your Chosen Template
You will find three things:
- An explanatory video from one of Clickfunnels’ team teaching you an introduction about the funnel page you’ve chosen, it’s advantages, and how to use ClickFunnels’ template.
- A little clock icon on the upper right corner explains what Time ClickFunnels will need to make your funnel page ready.
- By scrolling down on the funnel page, you will find a bunch of free templates. If you didn’t like any, feel free to switch taps to paid ones that have priced all around the place (can go as cheap as $47 template, the $147 template, or as costly as $797 template).
After Choosing A Template For Your Funnel Page
Click the “get funnel” blue button on the right upper corner.
Once that button has been clicked, the funnel page will load up into your account.
On the left side, you find your funnel page steps. While starting, there will only be two (but you can add as many as you want later).
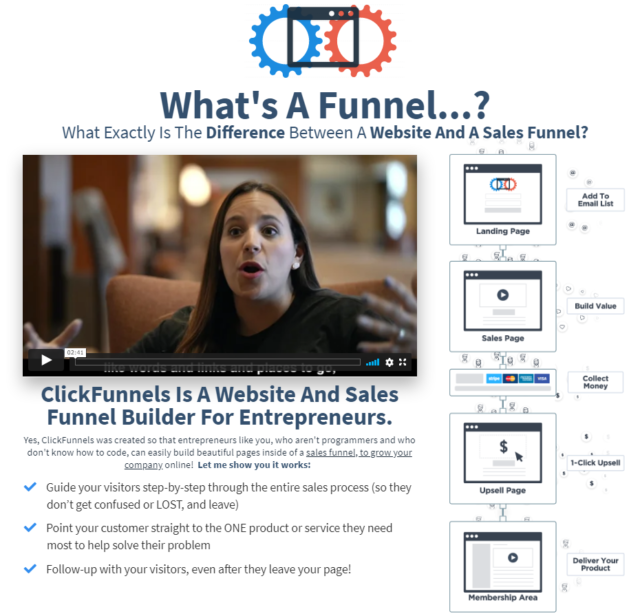
1. The Opt-In Page
This is the page that your customers – or potential customers – will enter their email addresses.
2. The “Thank You” Page
This is the thank you note your visitor sees once he/she is done with the subscription. It’s vital to figure out how to use ClickFunnels’ “Thank You” page to drive more sales.
Each page can only do one specific goal; for instance, you can’t use an Opt-in page to get credit card info. You will need a sales page for that.
According to the purpose of creating the funnel page, you can choose the types of pages you prefer.
On the upper corner of your funnel page, you will find a blue bar with four options:
- Steps
This is where you can adjust the steps of creating your funnel page.
- Stats
From here, you can find detailed-info about Anyone who has entered your funnel page. For instance, you can check out how many people put their emails from the overall people who visited your funnel page. You can’t learn how to use ClickFunnels if you couldn’t make your business status advantageous to you.
- Contacts
From here, you get access to your customer’s emails and basic info.
- Settings
Here, you can do all kinds of adjustments to your funnel page like:
- Choosing a domain.
- Editing your funnel page path (your path is whatever comes after your website’s name, for example, www.yourwebsitename.com/path). Try to make it memory-friendly!
- Choosing a group tag for your funnel page.
- Choosing a favicon URL for your business’s logo.
Let’s Discuss A/B Testing
If you didn’t like how things appeal on your main fun.el page, click on the little green button named “create variation.”
It would help if you learned how to use ClickFunnels‘ A/B testing to better-look your funnel page. There are two options:
- Create a duplicate page from your Opt-in page (this is the most recommended option).
- Create from a template (choose this one if you wanted to compare two funnel pages from different templates).
Wait a little bit till the two funnel pages load up on your main page.
You will find your original funnel page (A) on the right side, whereas, on the left side, you will find your duplicated funnel page (B).
After adjusting things as you see fit, press on the funnel page that you prefer to be your main page (you will see a “declare as a winner” watermark on the page you press on).
- You can get the link to your funnel page from the link tool on the page’s upper bar.
If you have no clue what your customers will like, you can choose to direct half of your customers to one page and the other half to the other one and use the “stats” tap to pick up a winner.
Let’s Dig Deep Inside ClickFunnels‘ Page Editor
It’s crucial to know how to use ClickFunnels’page editor since it’s the one holding the driver wheel, and with it, you can shape and re-shape the way your funnel page will look like. When you hover over a specific part in your funnel page, you will notice that the part get color-coded.
Parts colored in green are called sections. Sections go from the absolute left side of your browser to the absolute right side.
In each section, you can:
- Change Backgrounds.
- Change Colors.
- Play With Opacity.
Among many other editing options.
Inside each section, there are rows (marked in blue). Rows can be broken up into columns. You can add more columns to your row and resize each as fits you.
- The amazing thing about ClickFunnles structure is that whenever someone adjusts their browsers site, sections, rows, and columns resize to take a suitable shape, that’s why your funnel page will look just perfect on mobile.
Inside each column, there are items. Items are the parts that make your page interactive, like images, texts, buttons, etc.
By pressing the plus sign, a small side-window will pop up on the right side of your funnel page, from which you will see many options of elements to choose from like:
- Headline.
- Sub-Headline.
- Paragraph.
- Subtitle List.
- Images.
- Video Player.
- Audio Player.
- Timers.
Among many others.
There is an option called top margin from which you can adjust how much space you want between one element and the other on your funnel page.
On the right upper corner, there is a “save” button; you can click on it whenever you feel that your page is ready for visitors or if you wanted to pause and return sometime later.
On the upper bar of your funnel page editor, there is a “settings” button from which:
- You Can Add Or Delete Integrations.
- Adjust SEO MetaData.
- Adjust custom CSS (you might need a little coding experience to learn how to use ClickFunnels’ custom CSS).
- Change your funnel page background.
- Change your funnel page font.
Finally, there is a little phone button on the top of the page; by clicking on it, you can see how your recently-made funnel page fits mobile devices. Even better, you can adjust your whole funnel page on the mobile view.
Adding Integrations
On the left side of your funnel page, click on “Integrations.”
From there, you will see all kinds of third-party integrations that ClickFunnels team up with.
Click on the yellow button called “Add new integration.” You will be directed to a page with integrations to choose from like:
- ConvertKit.
- ActiveCampaign.
- AWeber.
It is worth noting that each integration option you choose will ask you for your info, which means you will need to head to the main integration site to find it.
Now Let’s Talk About Adding Domains
Clickfunnel will give you one free domain by default (yippee!).
If you want your domain, you can go to “add new domain” on the main page.
You will need to go to your main domain provider (GoDaddy, for instance) and get your hosting info to ClickFunnels. No worries, though! ClickFunnels has a step-by-step approach to get things ready with no time automatically.
Now, It’s Time For Us To Add Our First Product Into ClickFunnels
STEP ONE: The Basics
Go to the “product” section on the main funnel page, click on “add a new product,” afterward, click on the integration you want to implement.
From the same window, you can choose how you want to sell your item, product, or service on ClickFunnels:
- One Time.
- Payment Plan.
- Subscription.
Hit save and next.
STEP TWO: Product/Service Info
You will be forwarded to a new page in which you can add the basic info of your product like:
- Its Name (keep it memory-friendly).
- Its Price.
- The currency you want to sell your product with.
- Product Description (try to keep it information-rich yet, not too long for the eye to follow).
STEP THREE: Enable Fulfillment Email
Fulfillment email is an email message which you can send to your customer when he/she purchases the product. It can be a “Thank You” email or any note from you to your customers. You are free to add images to it and change its font to whatever you like.
Click save and next.
STEP FOUR: Choose A Follow-Up Action
Follow-up action is basically like their own auto-responder. You can trigger a series of events or emails that will be sent to the customer within ClickFunnels.
STEP FIVE: Shipping
You might want to skip this process if your product is a digital item. If not, there is a box labeled “Shipstation”, check it. You could have more than one dropdown if you wanted.
Click save and next
STEP SIX: Product Summary
From here, you will find all the info you put about your product from the first step till now. You can review and edit if you missed something.
How Much Can You Make Via ClickFunnels
There is no fixed-number on ClickFunnels-originated profits. The fact is, unlike many think, ClickFunnels isn’t the one holding the driving wheel when it comes to profitability, your product’s top-end quality, and the number of your audience are!
Established organizations that were doing just great before getting their funnel pages made and publicized by ClickFunnels can now – after ClickFunnels – do millions of dollars in profits easily. Newbies entrepreneurs who are just kicking-off their business journey might do hundreds or even thousands from ClickFunnels.
Not Quite Convinced With ClickFunnels? Check These 3 Alternatives!
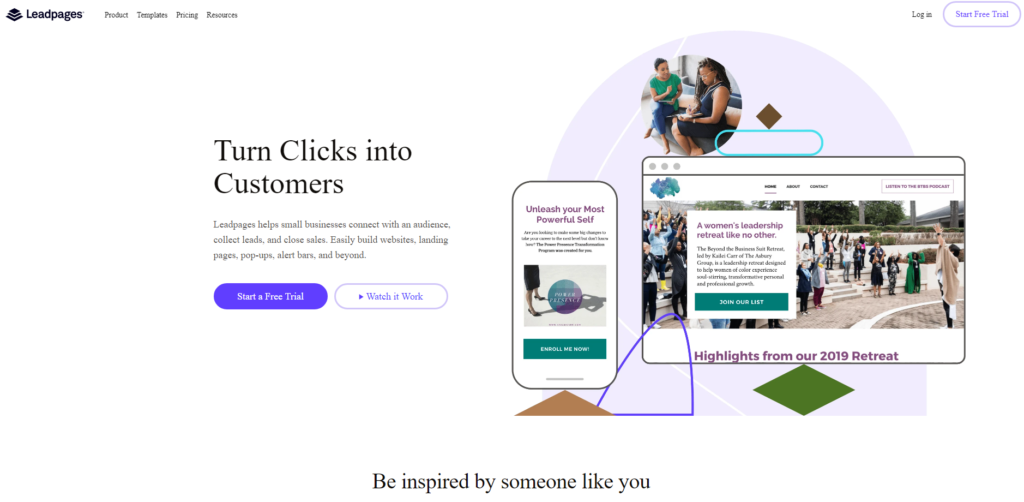
LeadPages, with its $25 starting plan, is your best plan-B software. It’s user-friendly, it uses drag and drop tool as a way to build the funnel page as well, and on top of that, it can integrate with WordPress.
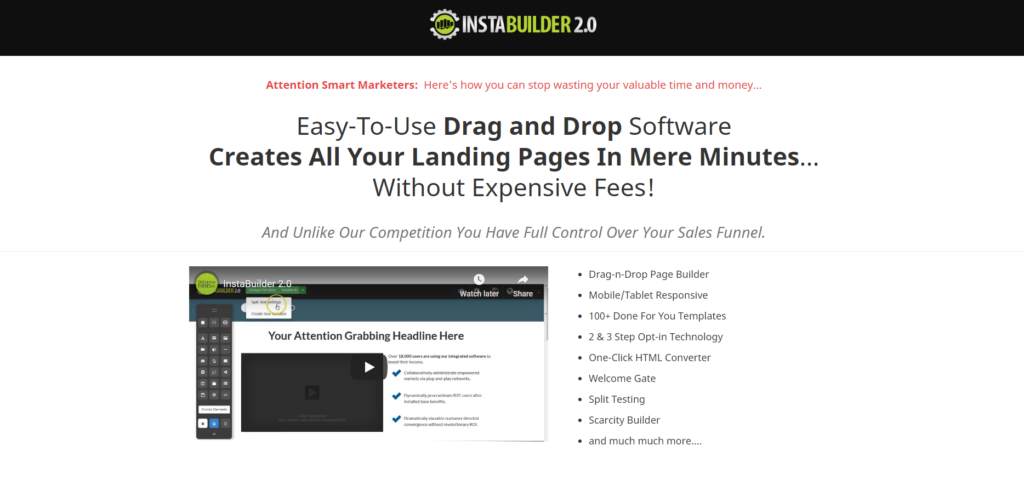
InstaBuilder is a recommended choice as well. The best thing about InstaBuilder is the price-tag associated with it. It is the only drag and drops a WordPress add-on that costs you $37 a year! (Yup! That’s a year!)
Another go-to option is 10 Minute Funnels. Besides the speedy-service that its name points to, 10 Minute Funnels’ strongest suit is its ability to self-host your website. Unfortunately, when it comes to price, it offers the same price as ClickFunnels (that’s $97 a month!).
Wrapping Up
It’s very easy to learn how to use ClickFunnels since it was originally built to be easy-to-use. ClickFunnels supports all marketers’ levels and does a terrific job at painting uniqueness as a name for your business. Thus, it’s the best investment to put your money on as an early-stage startup, medium-sized business, or a large organization.